

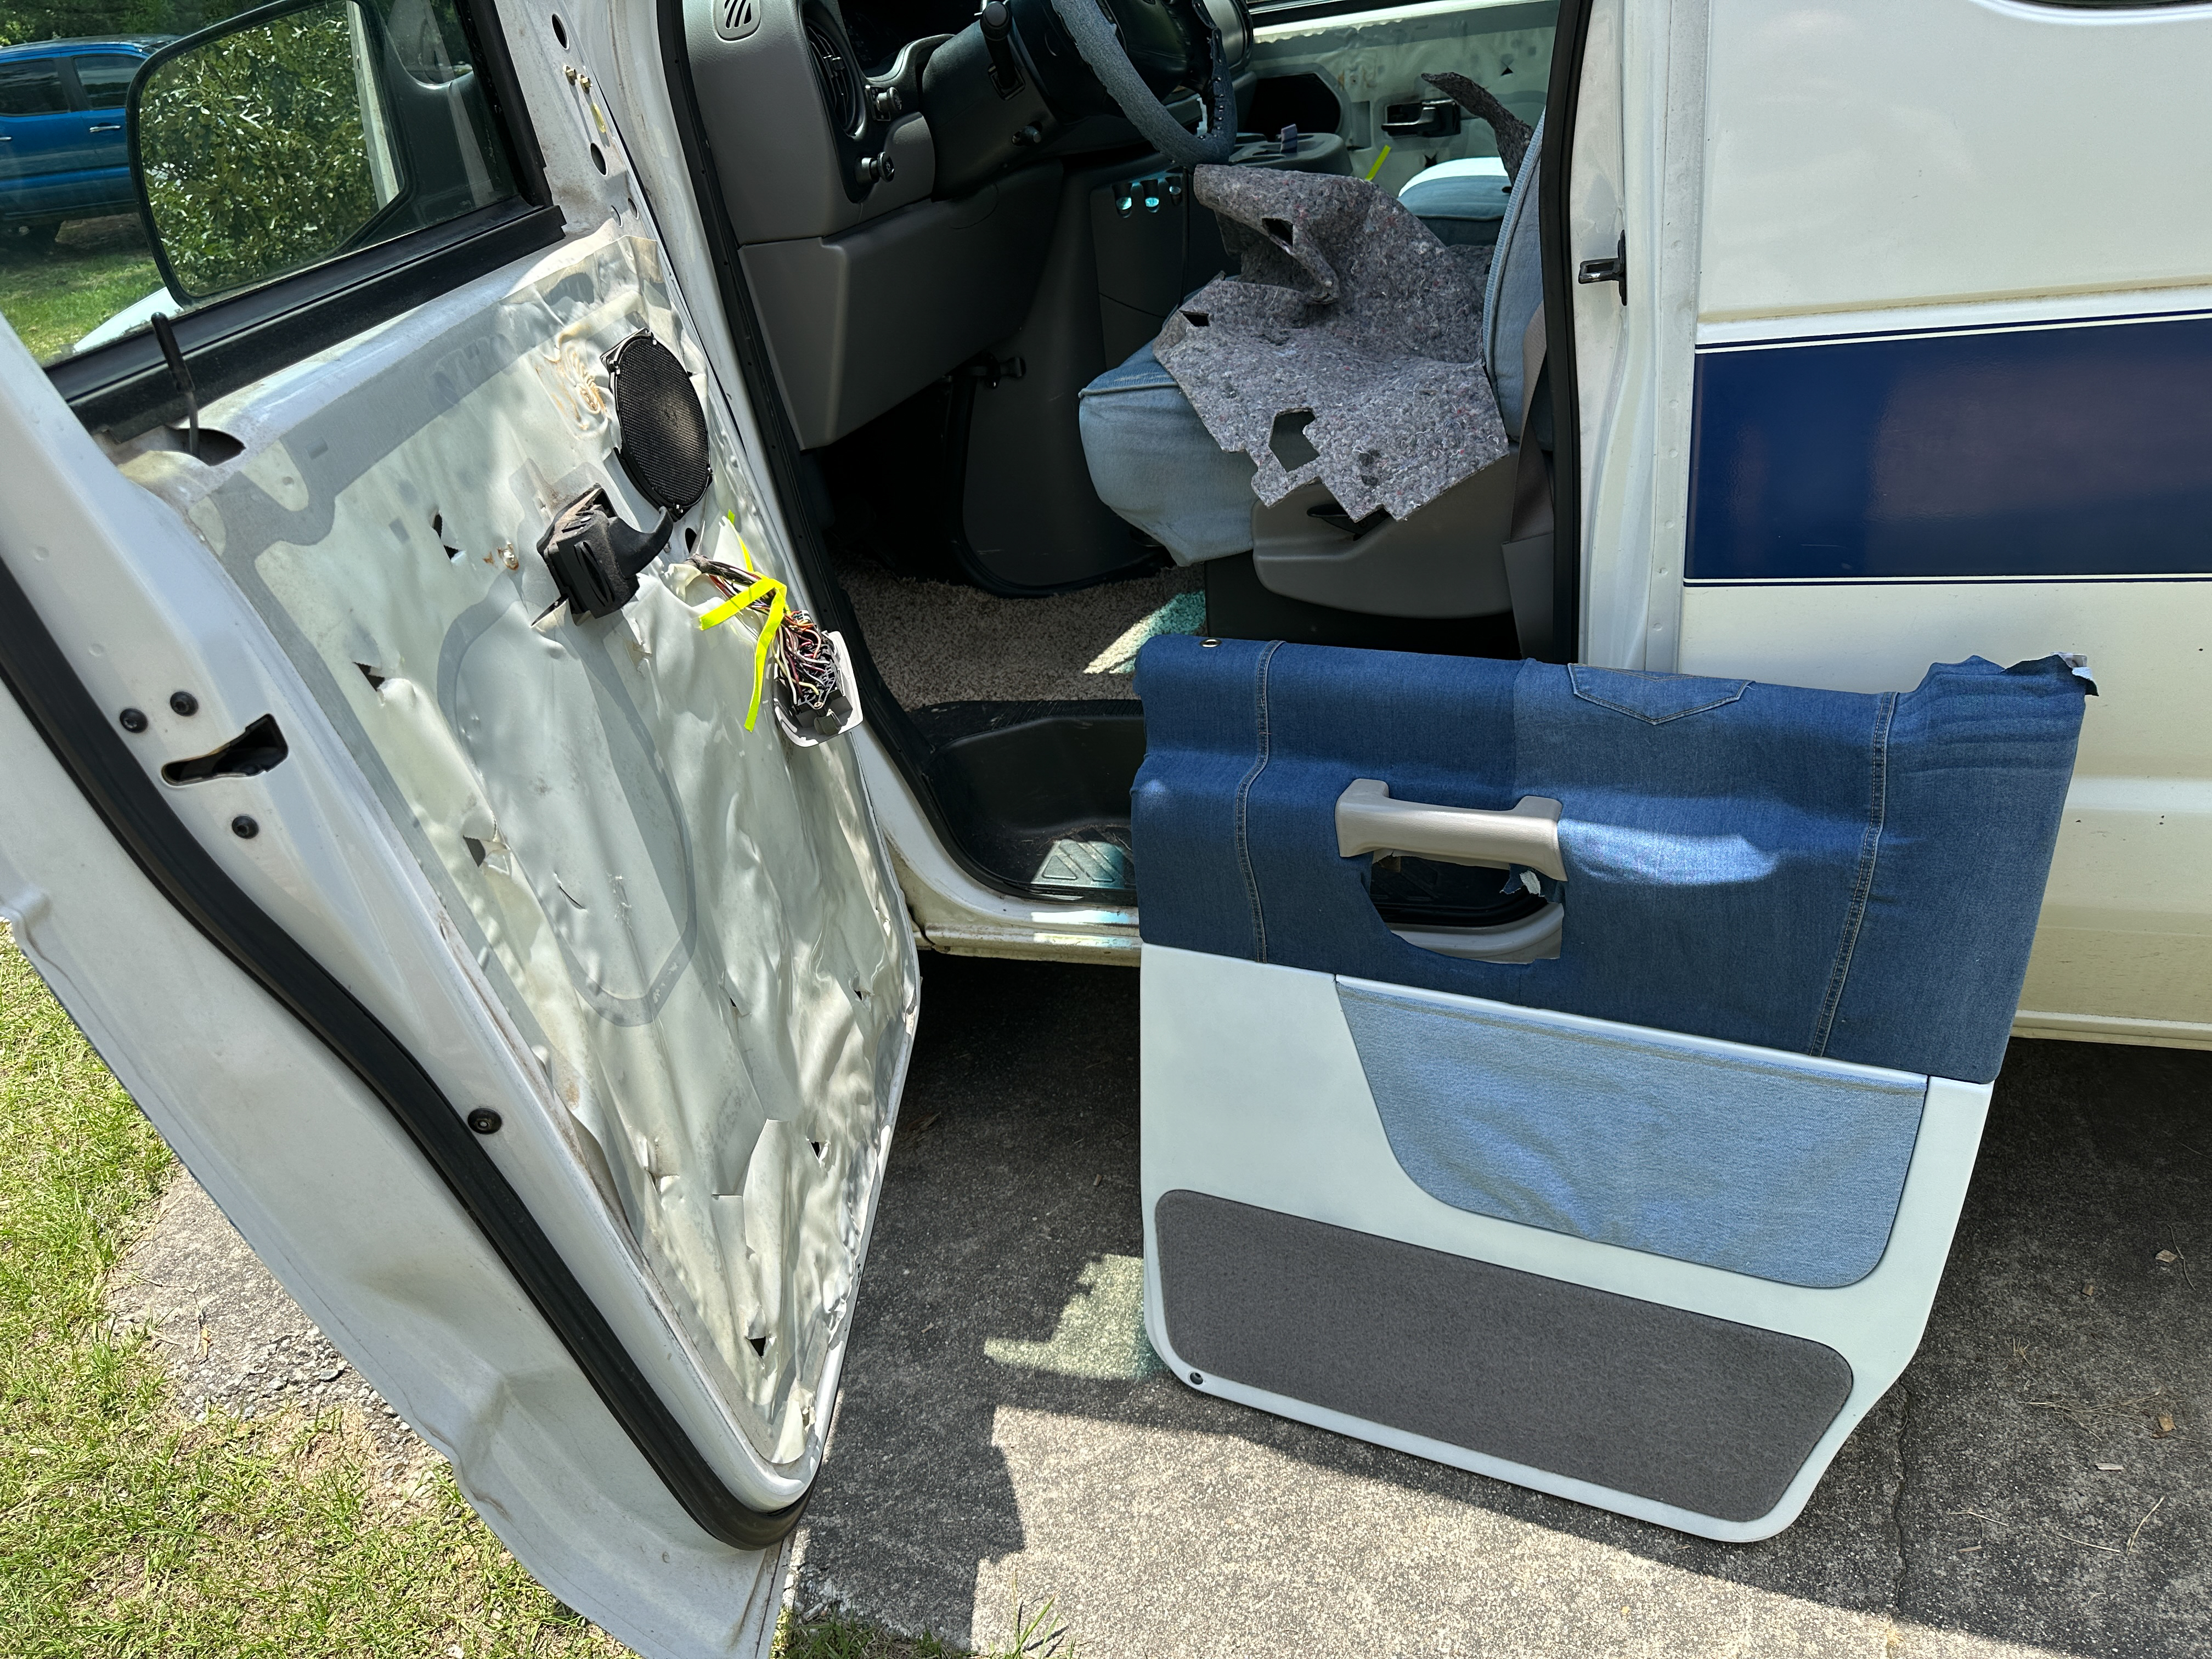
The last panels to be taken off and completely remade were the front driver and passenger doors. These were probably the most difficult of the doors because of the pockets and different materials used to combine into the door panel itself.
We began by removing the panels from the doors. As always, YouTube was a great help in figuring out how to do this. There are clips and screws involved and some panels have to be removed before others. It is fairly intuitive, but when doing this you are always hoping that you are not pulling on the wrong thing and in danger of breaking a clip or panel piece.

We saved the firewall insulation and apparently, the plastic barrier is difficult to replace, so we saved that, too. The next step was to disassemble the panel sections. This was a bit nerve wracking since the panels are assembled with melted plastic spot welds throughout. Using flat head screwdrivers, we broke those spot welds and separated the individual sections of each door.
The plastic door parts were set aside to be cleaned and spray painted. We used Rust-Oleum Satin White on those. This is the white paint we have used throughout the van. You can see from the photo below how grimey the inside of the door panels were. Icky!
The large pockets across the bottom of the doors were stretched out and a horrible grey vinyl. We remade the pockets from denim and tightened up the elastic bands that holds them on. We did not re-install the speakers, so were left covered by the denim.

Next we reassembled each panel in reverse order and reattached them to the van doors.

The handle and the bottom carpet kickplate are the only things that remained on the door in the original grey color. The carpet on both doors was in good shape and the handles are made of some type of rubber that we did not think would hold the white paint very well, so we left them as is.

The white control panel on this door (driver side) was broken and just flopping around when we got the van. We manufactured a new post on one side that was broken off from a tiny scrap of wood and epoxy. Then, we used some new retainer clips and snapped it back into place, good as new.

On a side note, this pocket holds that ever present bottle of hand sanitizer that has come to be a staple in our lives today…sigh.


One response to “Recovering Front Door Panels on the Van”
[…] panels in the beginning of this build. You can see those posts at Re-Covering the Cab Headliner and Recovering Front Door Panels on the Van with the main part of the side panels we recovered at Adding Driver Side Panel to the […]