
One of the many benefits of being a professional seamstress is that you always have the ability to “make it yourself” if it involves any type of fabric/fiber application at all.
Additionally, living and traveling in Alabama and the Southern USA means that 95% of the time you are going to encounter some type of insect, spider, or reptile that you probably do not want inside your camper with you. It also means that you are always thinking about ways to stay cool, like air conditioning or, in this case, a vent fan and open windows.
It was for these reasons that I had been researching various options for widow screens that would allow air circulation without allowing visits from creepy crawlies.
There are many screen options out there for vans and motorhomes these days. Some of them attach with magnets, some with velcro. Virtually all of the ones you can purchase are “custom” made for specific make and model vans, i.e. Sprinter, etc. These are not custom made for each individual vehicle, but more for each class of vehicle.
Loki is a 2000 year model Ford Econoline, so most of the “custom” ones were eliminated rather quickly. Mainly, what I was researching was how to attach some that I would eventually make to the van doors that would allow them to be opened and closed without having to remove the screen every time and that would seal the window well enough to keep the bugs out.
The screens you will see in this post were the second attempt to create something we liked that was functional. The first attempt was essentially screens, cut larger than the windows and attached to the outside of the van with magnet strips that were sewn into channels around the outer perimeter of each screen. This first attempt worked well enough, but the magnets were expensive and just did not hold well enough for my liking. I could have purchased much more expensive magnets that would probably have been stronger, but being the frugal person I am, I decided to try another approach.
The interesting thing to me about this whole project was that the screens I decided to make ended up being based on the ones that were created by another van-life sewist for their van. They were not the ones that you commonly see advertised on Amazon or other van enthusiast websites, but they turned out to be the simplest and most functional of all.

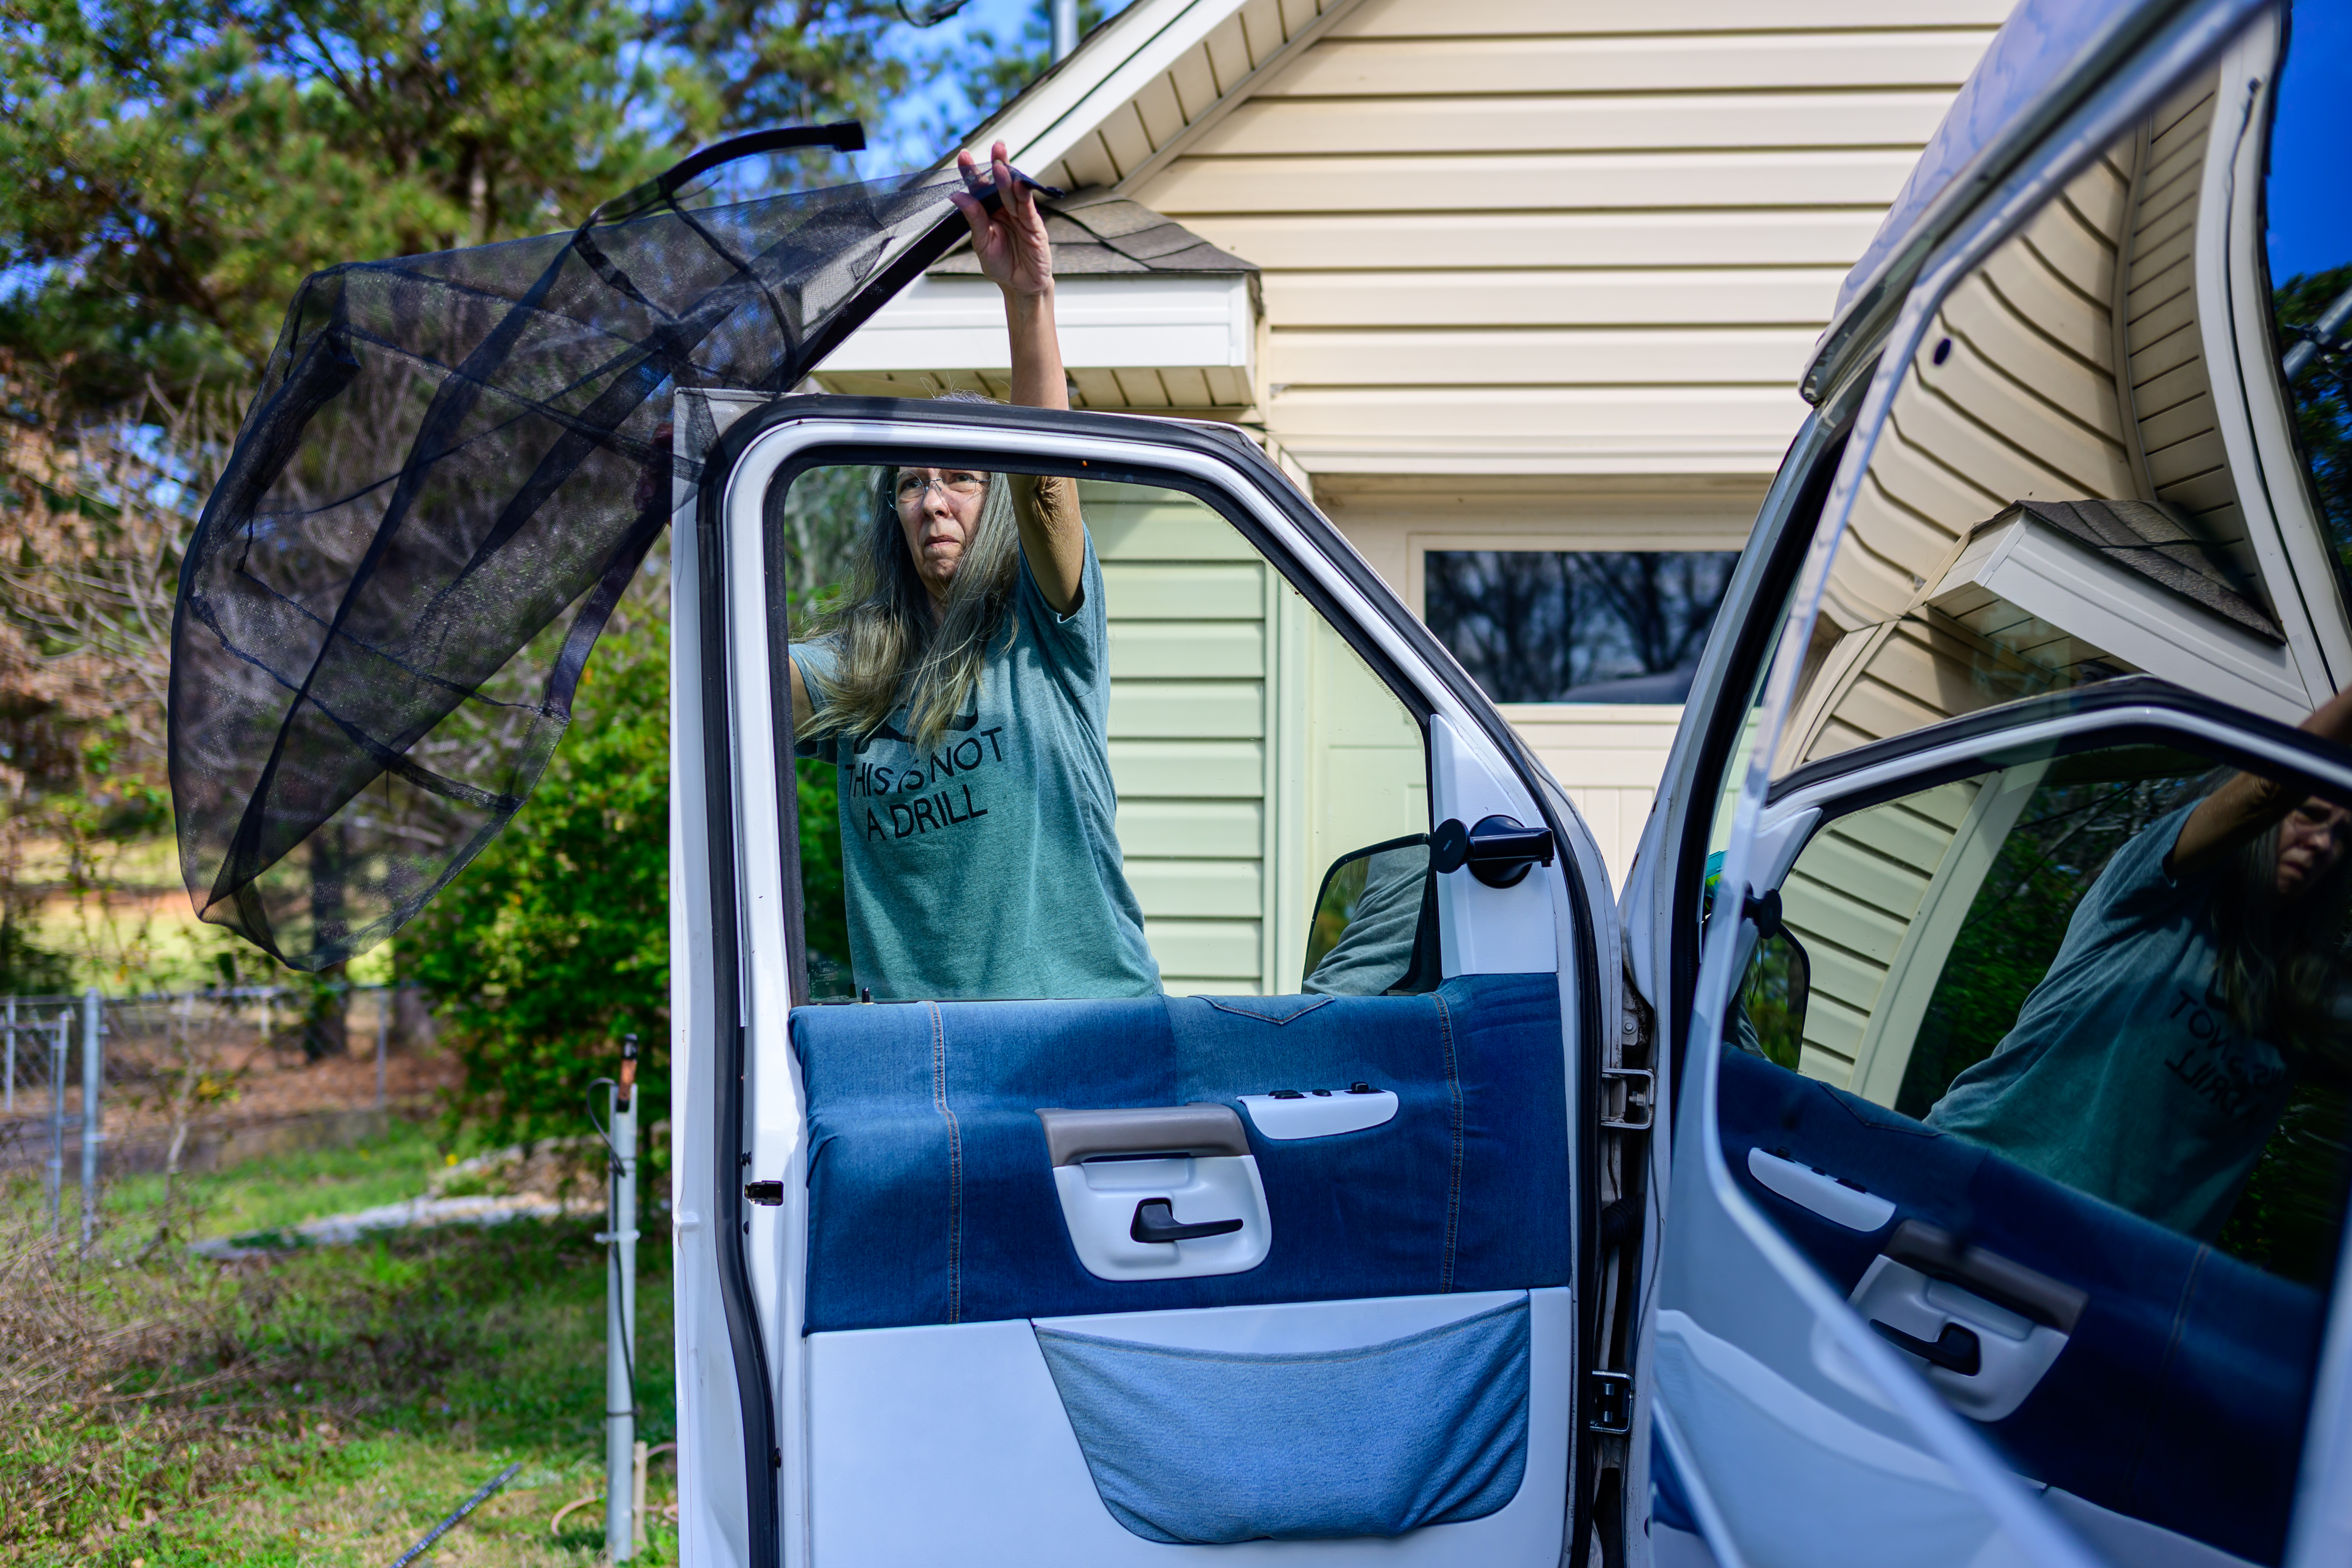
The screens I made go over the door completely, from the top, sort of like a pillow case. They come down below the window and then there is one strip of magnetic tape (salvaged from the first screen making attempt) attached along the outside bottom of each screen case. To make these screens, I purchased a roll of vinyl window screen on Amazon and I made a paper template of each door from door handle to top. The driver and passenger side were identical.
I then cut two pieces of vinyl of each pattern piece for each door and a 2″ strip that was very long. The strip was sewn to one pattern piece, from the bottom edge, up and around the top to the other side’s bottom edge. The second pattern piece was then sewn to the strip, which resulted in a pillow case looking thing.
I folded the bottom edge all the way around to form a finished casing and inserted the magnet strip in the side that would be on the outside of the door. The placement of the magnet strip was one detail that was important here, as the driver and passenger doors are identical, but reversed. So, the magnet is on the opposite side (outside only) bottom edge of each. Then, I sewed the casing closed all the way around.


The one additional thing I added was to cut a slit in the outer screen that would allow the screen to wrap around the mirror arm. I added velcro tabs at the bottom of the slit in the casing area so we could close the slit around the mirror arm.


The screens you see below have not had the casings sewn yet, but you get the idea. As a final step, I turned them inside out and sewed a little bit wider seam allowance around the sides and top which made them fit more snugly in the end.


I love how these screens work, as you do not have to remove them to roll down, or pop out the windows. They stay in place and, ultimately, there are actually two screen barriers that the bugs have to navigate, if they can even get past the magnet seal on the outside. If you have any questions about these screens, leave a comment or send us a contact through our form. If you would like to see more sewing projects and tutorials, you can find me at Pieces of the Past on YouTube. Happy Travels! ~Deborah
