

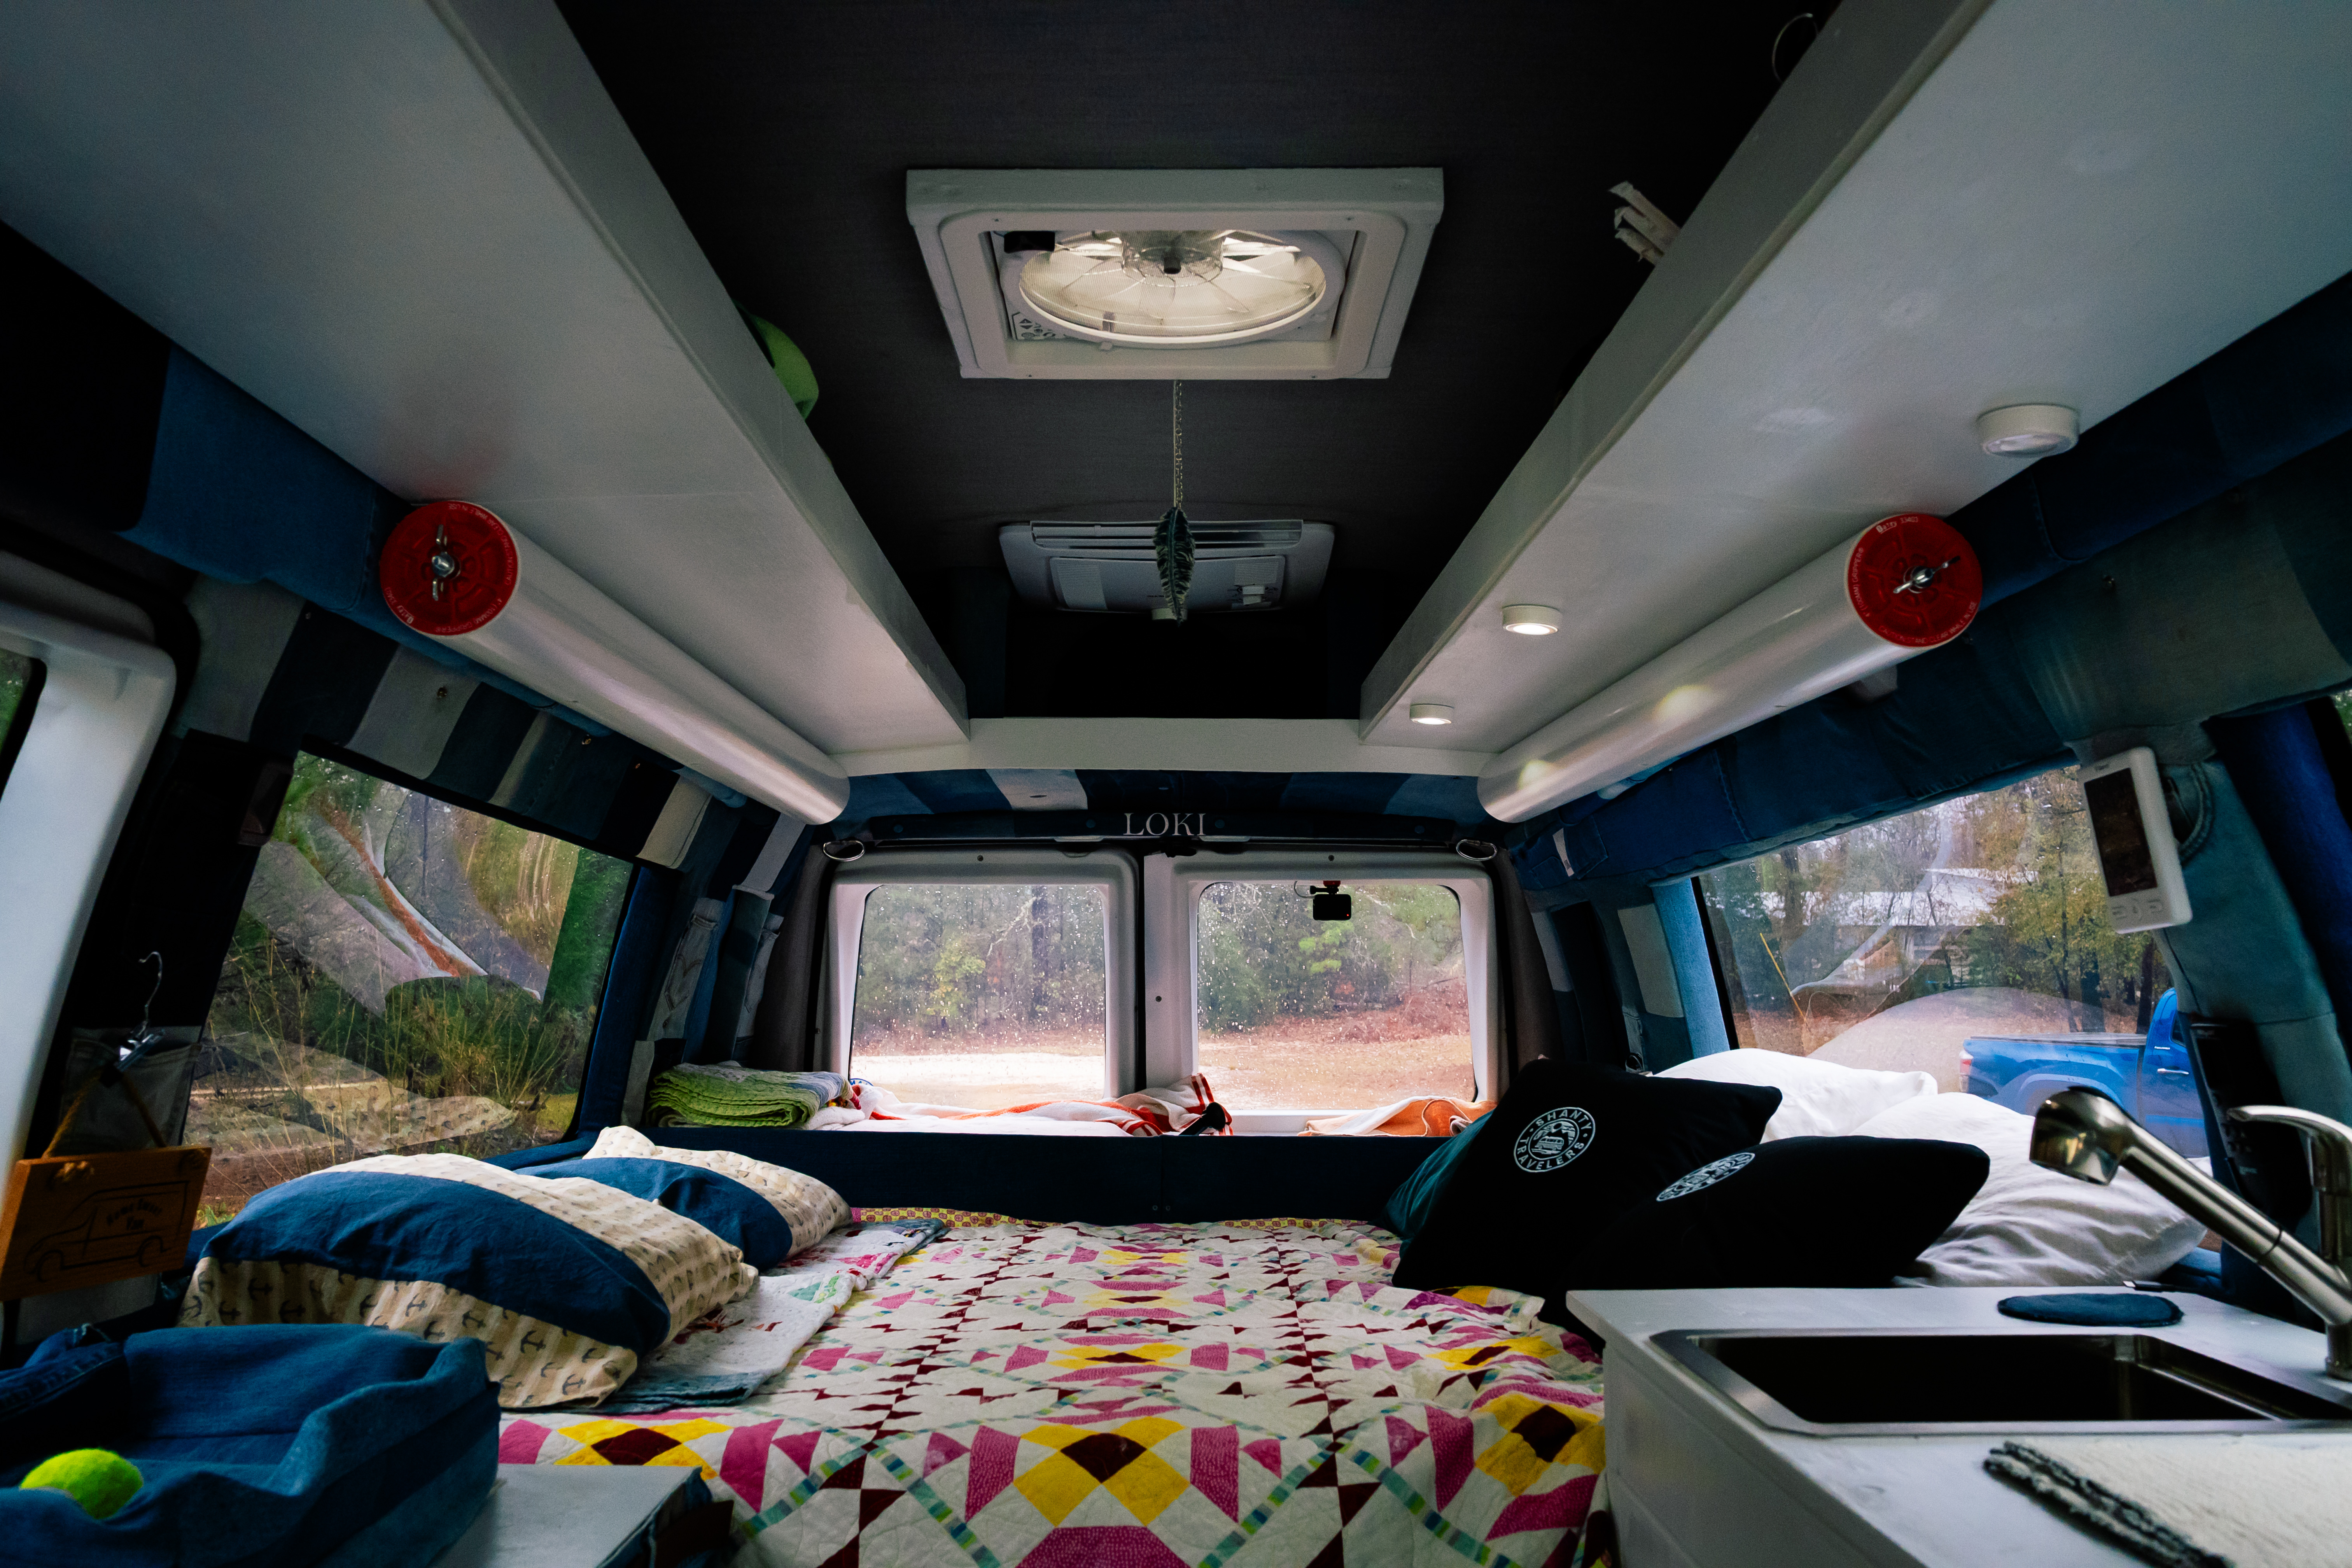
The last few months we have continued to work on the van conversion as much as time would allow. This time we are back to working on the van cabinets. The final push to finish the main build of Loki required that we finish off the top inside space to make it more functional and usable.

Side Panels
This was accomplished in two steps. First, we took the old panels that covered the area where the raised fiberglass roof meets the van body and we recovered them with denim in the same way we did the interior panels in the beginning of this build. You can see those posts at Re-Covering the Cab Headliner and Recovering Front Door Panels on the Van with the main part of the side panels we recovered at Adding Driver Side Panel to the Van.
The denim strips were constructed (sewn), glued to the salvaged panels, wrapped around and stapled on the backside, and then the panels were re-installed in the van. You can see the panel in place in the photo below with a 2″ x 4″ laying in front of it before we actually screwed it in place for good.


Overhead Bins
The 2′ x 4″ in the following photo was part of our planning for the overhead bins. We were trying to decide how to install bins without being able to screw them into the fiberglass top. All the space above the board is fiberglass, so you cannot just “hang” cabinets like you would in a house. We also did not have the option of supporting the overhead bins from the floor, as we opted to keep all our windows, so building supporting walls was not something we wanted to do, as it would detract from the outside view we were going for.
So, we decided to support the upper cabinets by having them rest on the top of the original van that was not cut away when the topper was installed. This way, they could run the entire length of the van on both sides and would be incredibly sturdy.


Painting the 10 foot long boards was the first task. That was something that Deborah enjoyed way more than Scott did. Then the construction commenced.
Scott screwed together three of these boards by using short support braces and then one more board was added to the front of each bin to create a lip for keeping things in place while driving.


We completed the bins by adding a strip of luan plywood to the front and underside of them, all painted of course, to give them a finished look.


You can see the bins roughly installed below. After setting them in place, we screwed them down to the original metal roof in the front and the back that they were sitting on and then we installed braces (shelf brackets turned upside down) at regular intervals inside the bins to give them extra sturdiness. These braces were screwed to the wood panel that we installed before that is now the back part of the overhead bins.


Front and Back Bins
Typical of raised roof vans, Loki has a portion of the front and the back original metal roof retained. The original roof becomes the bottom of the new fiberglass roof leaving a very large cavernous space that can be utilized, as needed. This space allows for a facade to be placed over them and then electronics, lights, and other commercial applications can be installed in them. For someone converting the van to a camper, these caverns are a great way to gain much needed storage space.
After the overhead bins were installed, Deborah made a template for the front of the two “cavern” spaces in order to finish them off with luan to make them look like the overhead bins. She cut the templates from craft paper on a roll and then kept placing and trimming until the templates fit the exact space.
These templates were then used to cut the luan, which was then painted and stapled in place to finish off the front and rear cabinet spaces. Compare the second photo below to the ones above and you can see where the luan plates covered the sharp edges of the original roofline.


Just for fun, here is a very short video about the van build and the sheer number of screws required to complete it. Enjoy!
